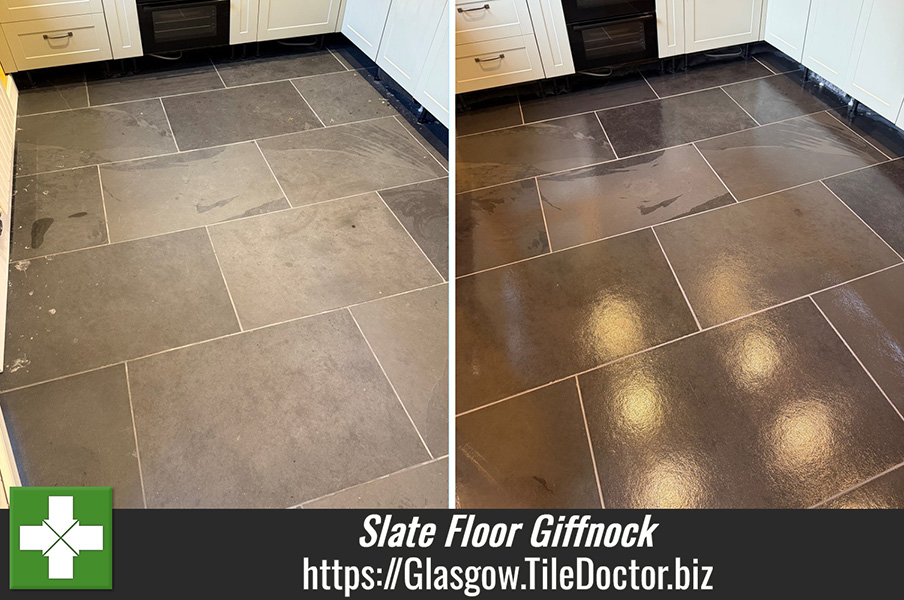
Renovating a New Slate Floor Ruined by Plasterers in Giffnock
This customer from the Glasgow suburb of Giffnock recently had a beautiful Brazilian Slate tiled floor put down and then had the kitchen plastered. Unfortunately, the plasterers hadn’t covered the new floor with any protection during their work, and it got stained in the process. They did try to wash it afterwards which improved things but couldn’t get it completely clean and left it looking dull and nowhere near how it looked just a week earlier.

Concerned their new floor was ruined I was asked to pop round and see what could be done to remedy the situation. Plaster staining was evident close to the walls where plaster must had dropped onto the tiles, and I suspect a strong cleaning product was used to clean the floor afterwards as the tiles were looking quite dull and flat indicating the original sealer had been impacted.
To rectify the floor would now need an intensive clean to remove the plaster and then resealing. I worked out a detailed quote for the work which was accepted and a date scheduled for the work to start which would take two days. I suspect the cost would no doubt be charged to the plasterer who clearly should have taken more care.

Cleaning Slate Floor Tile and Grout
To get the Slate floor clean a strong dilution of Tile Doctor Pro-Clean was sprayed onto the tiles and left to soak in for ten minutes so allow the solution time to break down the staining. The solution was then scrubbed into the stone using a rotary bonnet machine fitted with a Silicon Carbide Brush. The scrubbing turned the cleaning solution into a slurry which was then rinsed off the floor with more water and then extracted with a wet vacuum.
Next step was to treat the stubborn plaster-stained areas using another Tile Doctor product called Grout Clean-up. This is an acidic cleaner that is specifically designed for removing grout smears but also does well removing other cement type products such as plaster. Some areas had to be treated several times to breakdown and remove all the staining, but it did the job and after another rinse and extraction the Slate tilers were looking spotless.
Sealing Slate Floor Tiles
The floor was left to dry off overnight and then we returned on the second day to seal the Slate with Tile Doctor Seal and Go which is a water-based sealer (no smell) that adds a nice sheen to the tile and gave the desired finish. Slate is quite porous so five coats of Seal and Go were required to ensure the floor was fully sealed. As well as improving the appearance of the Slate bringing out the colour and features of the stone it also adds protection that will ensure dirt remains on the surface where it can be easily cleaned away.

When finished the Slate floor looked like a new installation and as you can imagine the owner was quite relieved. Regarding maintenance cleaning I like to recommend the use of Tile Doctor Neutral Tile Cleaner for sealed floors, it’s an effective product with a neutral PH that won’t impact the sealer increasing its longevity.

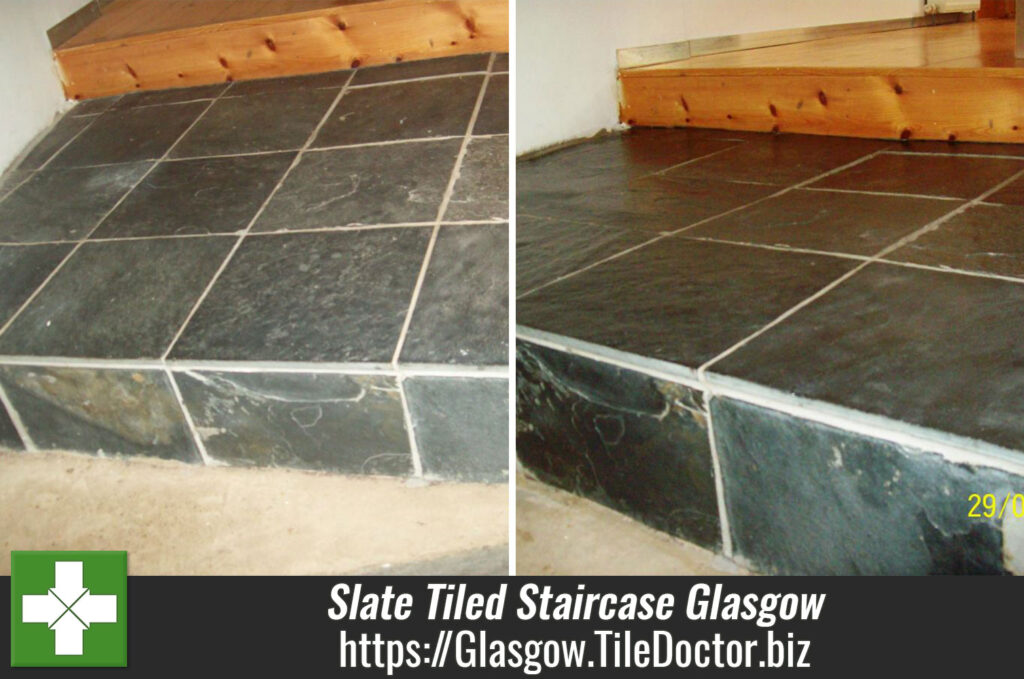
Professional Renovation of Slate Tiled Floors in Glasgow
Renovating a New Slate Floor Ruined by Plasterers in Giffnock Read More »